Allow‑listing MediaThriveBot when you use Cloudflare “Under Attack” mode or a WAF
When Cloudflare (or another WAF) challenges every request, legitimate crawlers can be blocked.
Follow this guide to let MediaThriveBot reach your site safely while keeping full protection for everyone else.
1 Why you need this
-
MediaThriveBot pulls your public articles, podcasts, or other assets so they appear in MediaThrive.
-
If Cloudflare’s Under Attack Mode, Bot Fight Mode, or a strict WAF rule is enabled, the bot will receive JavaScript or CAPTCHA challenges that it cannot solve.
-
By adding a lightweight allow‑list rule you bypass only traffic that (a) presents our unique User‑Agent string and(b) includes your private verification token in an HTTP header. Everything else is still fully protected.
2 Grab your Verification Token
-
Sign in to MediaThrive.
-
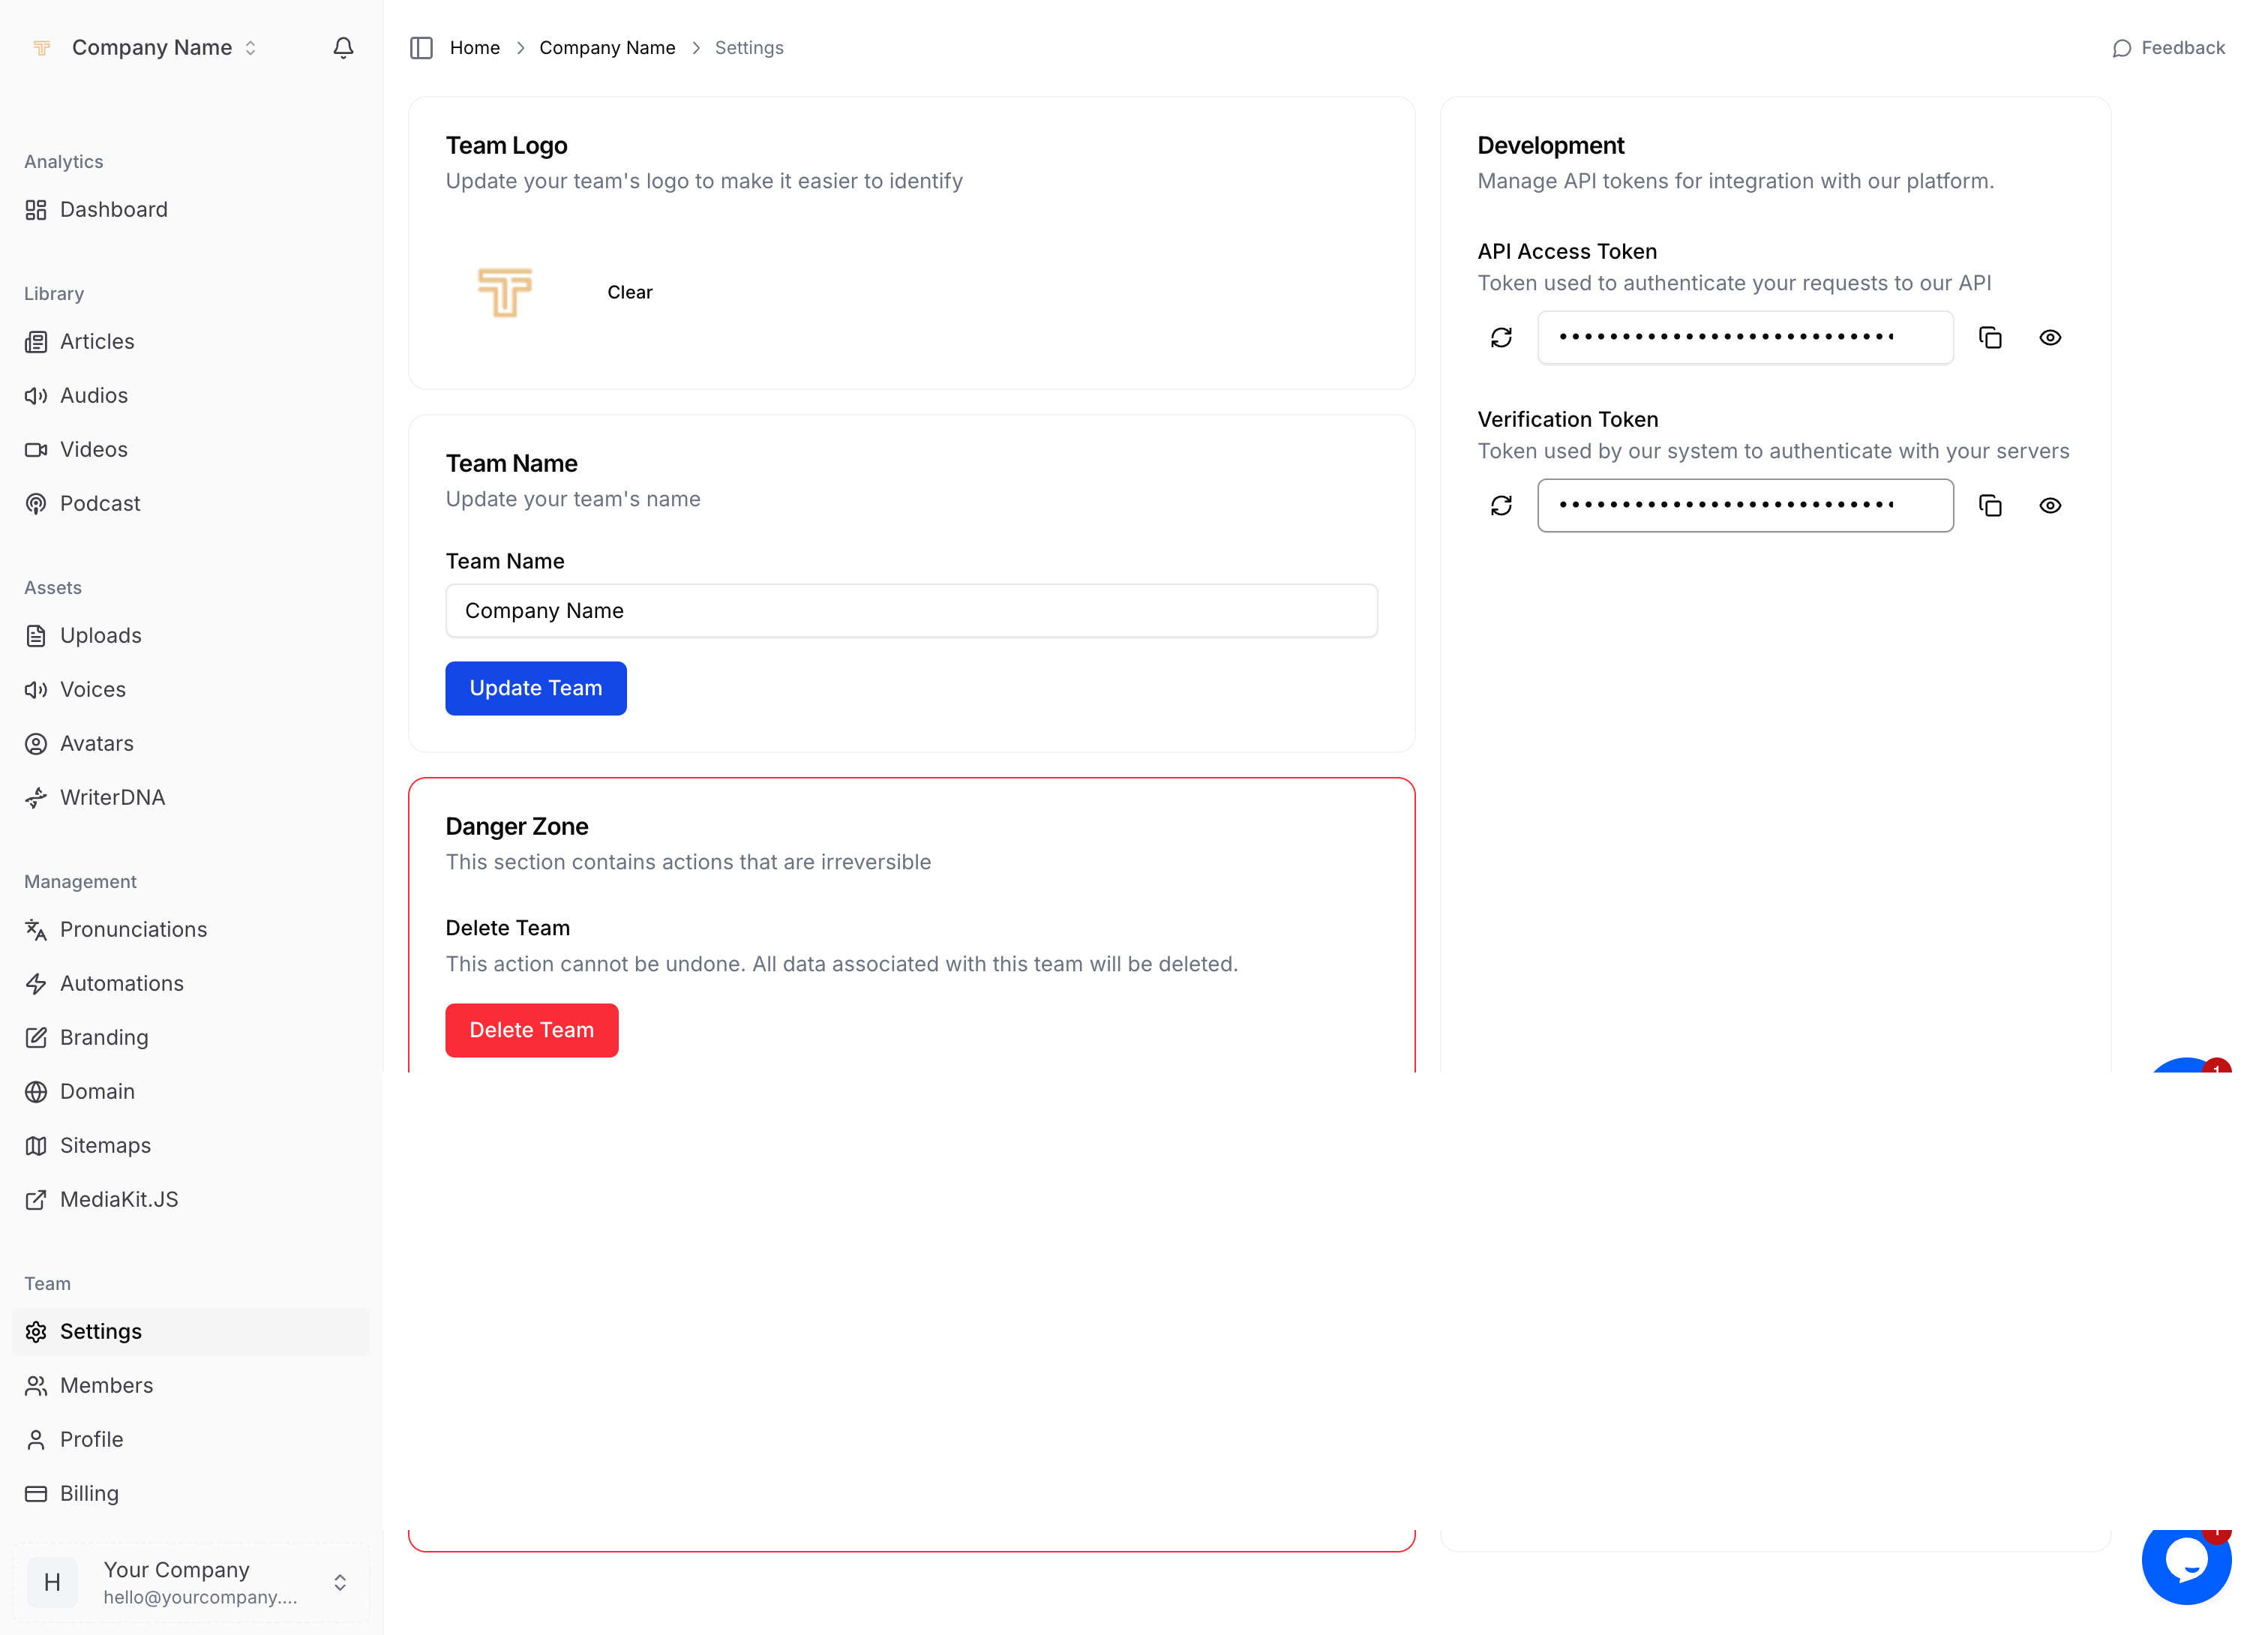
Go to Team ▸ Settings.
-
In the Development panel copy the Verification Token (click the clipboard icon).
-
Keep the token secret; treat it like a password.
You can regenerate it at any time — just remember to update your Cloudflare rule afterward.
3 How MediaThriveBot identifies itself
| Header | Value |
|---|---|
User‑Agent | Mozilla/5.0 (compatible; MediaThriveBot/2.0; +https://mediathrive.com/bot) |
X‑MediaThrive‑Token | <your‑verification‑token> |
MediaThrive always sends both of these on every crawl request.
4 Create a Cloudflare Custom Rule
Cloudflare’s WAF Custom Rules let you skip specific protections when a condition matches (recommended over simple User‑Agent allow‑lists). (Cloudflare Docs, Cloudflare Docs)
-
Log in to the Cloudflare dashboard and select your domain.
-
Go to Security ▸ WAF ▸ Custom Rules and click Create rule.
-
Give the rule a clear name, e.g. “Allow MediaThriveBot”.
-
In Rule expression, paste:
text(http.user_agent contains "MediaThriveBot") and (http.request.headers["X-MediaThrive-Token"] eq "YOUR_TOKEN_HERE") -
Choose action → Skip and tick:
-
WAF Managed Rules
-
Bot Fight Mode / Super Bot Fight Mode
-
Rate Limiting / DDoS (as needed)
(If “Skip” is unavailable on your plan, select Allow instead.)
-
-
Save and deploy the rule. Place it high in the rule‑order list to ensure it runs before generic blocking rules.
Result: Only requests that match both the special User‑Agent and your unique token bypass Cloudflare challenges; every other crawler is still filtered.
5 Testing
-
From a terminal or script, run:
bashcurl -I https://yourdomain.com \ -A "Mozilla/5.0 (compatible; MediaThriveBot/2.0; +https://mediathrive.com/bot)" \ -H "X-MediaThrive-Token: YOUR_TOKEN_HERE" -
You should receive an HTTP 200 (or 304/301) without a Cloudflare challenge page.
-
Remove the header or change the token to confirm Cloudflare blocks the request.
6 Using other WAFs / Firewalls
| Provider | What to do |
|---|---|
AWS WAF | Create a “Header match” rule for X-MediaThrive-Token == <token> AND “String match” on User‑Agent contains MediaThriveBot, then set Allow action. |
Nginx/ModSecurity | Place an early rule: SecRule REQUEST_HEADERS:X-MediaThrive-Token "@streq <token>" "id:900001,phase:1,pass,nolog,ctl:ruleEngine=Off" and pair with a SecRule REQUEST_HEADERS:User-Agent check. |
Sucuri, Imperva, etc. | Add a positive security rule (allow‑list) combining header and user‑agent conditions; consult vendor docs for exact UI names. |
7 Regenerating or revoking a token
-
In Team ▸ Settings click the ↻ icon next to Verification Token.
-
Update your Cloudflare (or WAF) rule with the new value.
-
Old tokens stop working immediately.
8 FAQ
What if I only add a User‑Agent allow‑list?
That works, but anyone can fake a User‑Agent. The extra token header proves the request really comes from MediaThrive.
Can I limit by IP instead?
Our crawler is distributed across multiple regions for resilience. Header‑based allow‑listing is simpler and stays up‑to‑date automatically.
Does this weaken my security?
No. The rule skips protection only for authenticated MediaThrive traffic. All other visitors (including malicious bots) still go through your usual Cloudflare defenses.
Add the Settings screenshot right after Section 2 so users can quickly locate the Verification Token field.